INTRODUCTIONS
Hey there, friend-o!
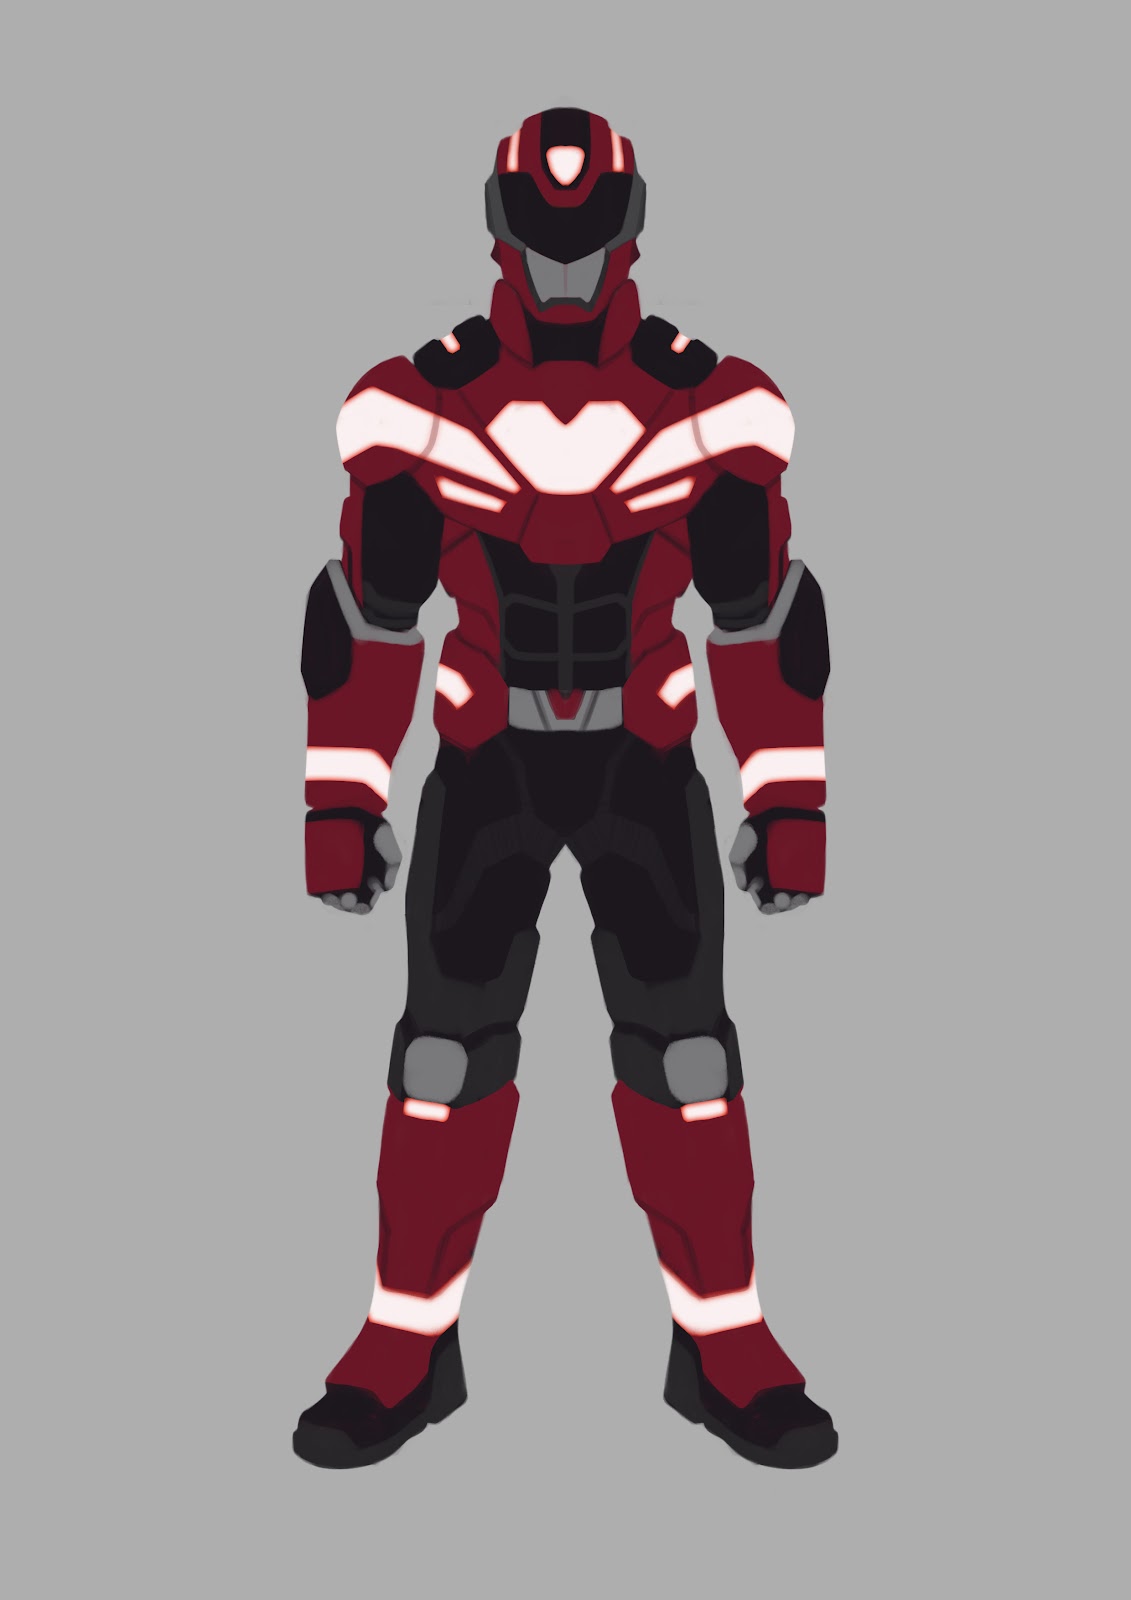
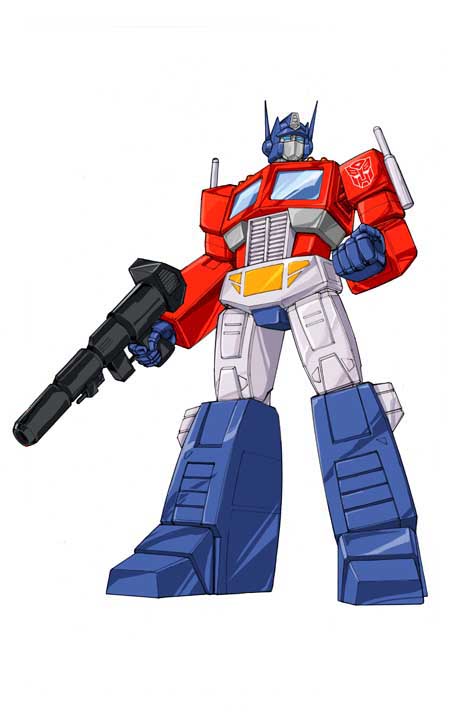
In this tutorial I’m going to explain to you how to go from graphically-designed characters (like those from your dad’s comic books!) and make them look like concept art from a big budget realistic game, like ‘Horizon: Zero Dawn’, ‘Death Stranding’ and ‘Gears of War’. I’m focusing specifically on making sure these designs have visual clarity and are clear in their function.
I’m going to talk about how I tackle this process and give you different options depending on your style of producing art. These processes are intermediate in their complexity, but to master them can take quite some trial-and-error, though I will do my utmost best to make them easy to understand for all.
This tutorial is primarily used to give you a good foundation to build off of. My examples will also be specifically geared towards the slightly more mechanical designs and armors as this gives you, dear reader, a better visual aid.
INDEX
This tutorial is structured in the following manner:
CHAPTER 1: GRAB A MAP! EXAMINING YOUR DESIGN AND DECIDING YOUR APPROACH!
CHAPTER 2: FEEL THE RHYTHM! READABILITY AND RHYTHM!
CHAPTER 3: AMPLIFY IT MORE! MATERIALS AND FUNCTION!
CHAPTER 4: BREAKDOWN! A SUCCINCT RECAP!
Why this tutorial was made and what you can expect to learn (and what you won’t)
This tutorial is specifically written as response to seeing so many designs in games and movies fail due to being over-designed, which means that they have so much visual information that they aren’t readable anymore. I will talk about this more in the first chapter.
Once again, let me be clear in what to expect from this tutorial:
How to analyze a design and single out the core functions of it
The Do’s and Don'ts to keep your design readable
You will learn how materials will amplify the function of your design
How these materials make your character more grounded, while keeping it readable
The different work processes to follow this tutorial
What you aren’t going to learn in this tutorial:
How to design a character from scratch
Basic skills, such as anatomy, posing, color theory, etc.
How photoshop works
How to “photobash” (Thich is the use of photos in your painting to enhance the fidelity of your art)
How to “render” your art (The act of refining your painting. It’s primarily used in 3D art, but for all intents and purposes I am exclusively using it in a 2D art context)
Prerequisites, Difficulty level and Who this tutorial is meant for
This tutorial is written specifically for the Utrecht School of the Arts (HKU)’s Games & Interaction programme’s Post-Internship students and other concept art peers. This means that this tutorial isn’t written for beginners. The difficulty would be for Intermediate level artists at the very least and will specifically talk about how to refine your skills.
This also means this tutorial is meant for people proficient in, and currently using, painting and photo-manipulation software, such as Adobe Photoshop. While photo-manipulation software isn’t specifically needed for this tutorial, I will talk a fair amount about photobashing and how I use it, so I strongly advise you to use a program capable of doing so.
About the Author

My name is Stephan Rumping, currently a graduating Game Art student at the Utrecht School of the Arts (HKU). I’ve been working to become a professional concept artist for the past 10 years.
I specialize primarily in worldbuilding and character concept art for games, though I am working to expand this to movies, television and animation. I pride myself in creating worlds and stories full of vibrant, fun, yet flawed characters you would love to see more about!